Rocket Chat Modern UI
By: zimbra
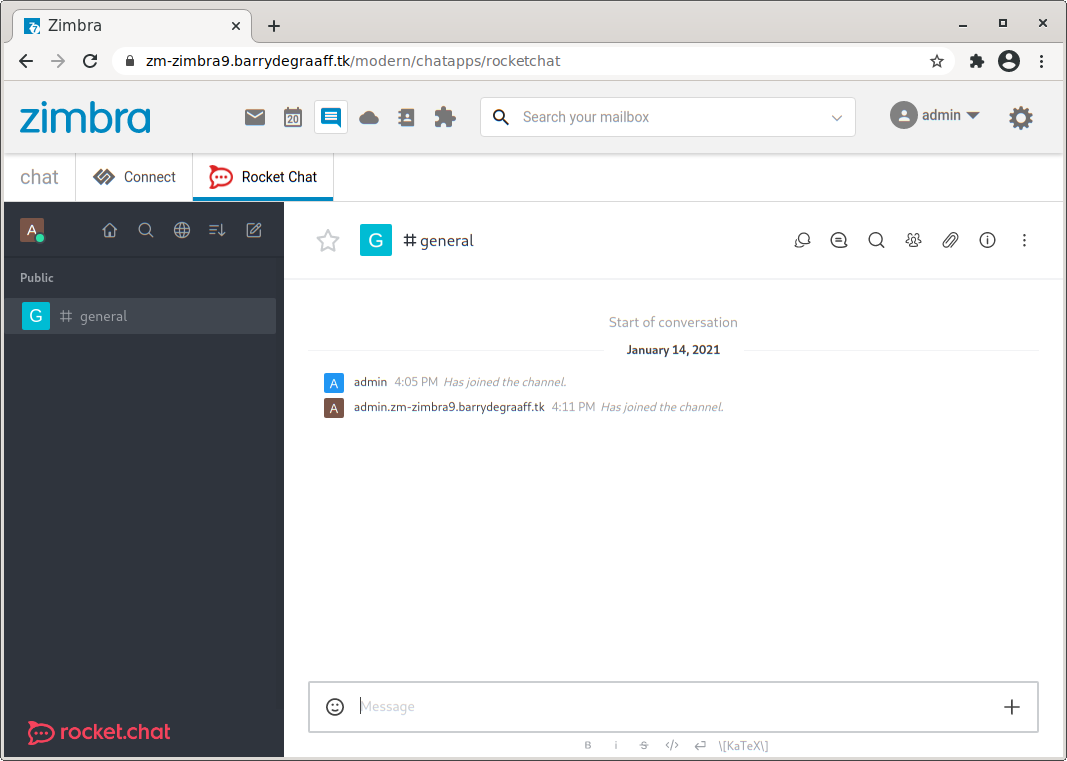
Rocket Chat integration for Zimbra 9, Zimbra 10
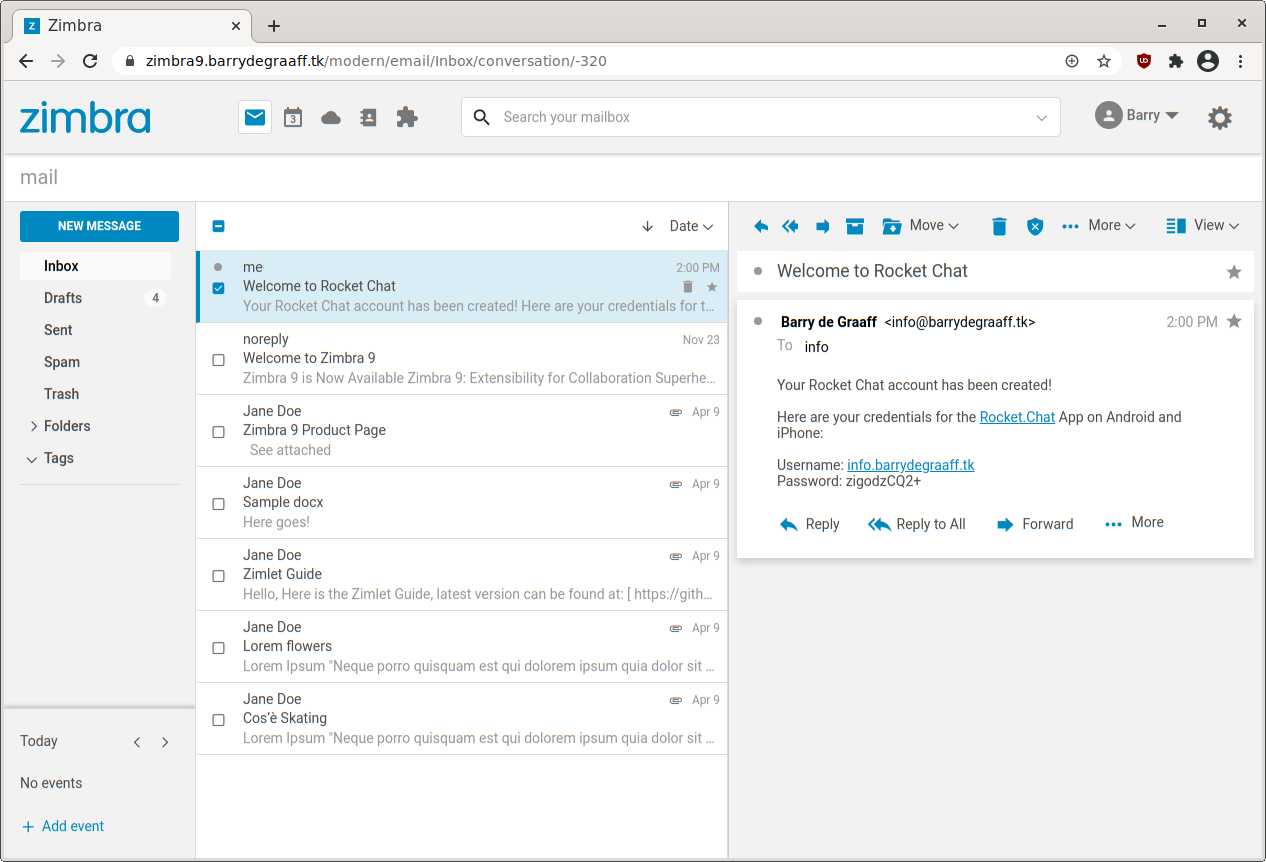
This Zimlet will automatically create accounts for your users and will log them on to Rocket Chat automatically. The Zimlet will create accounts in Rocket Chat based on the Zimbra primary email address. So user@example.com in Zimbra becomes user.example.com in Rocket Chat. Once set-up the users can only log-in via the Zimbra log-in page this includes mobile device apps. A welcome email is send to the user with a fallback password, this can only be used in situations where the integration is disabled.

How to install Rocket Chat
See documentation on Github!
Helpful Links
| Rating | No ratings or reviews |
| Downloads | 661 |
| Latest Version | 0.0.6 |
| Categories | Chat |
| Compatibility | ZCS 9.0.x , ZCS 10.0.x |
| License | BSD 3-Clause |
| Created | on 6/24/21 |
| Updated | on 9/7/23 |