RocketChat 6.x no longer offers a stand-alone non-cloud installation, this integration will no longer work due to bugs in the IFrame auth in Rocket Chat.
Zimbra RocketChat integration Zimlet for Zimbra 8.8.15, Zimbra 9.
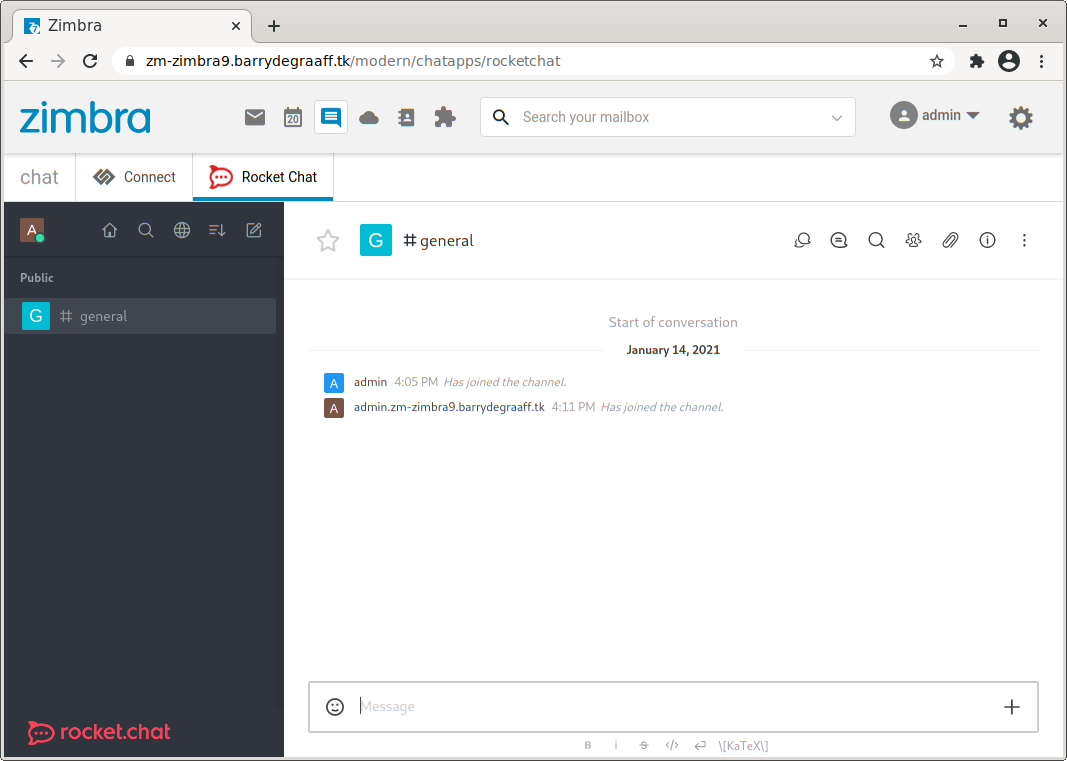
This Zimlet will automatically create accounts for your users and will log them on to Rocket Chat automatically. The Zimlet will create accounts in Rocket Chat based on the Zimbra primary email address.
So user@example.com in Zimbra becomes user.example.com in Rocket
Chat. Once set up, the users can only login via the Zimbra login page
including mobile device apps. A welcome email is sent to the user with a
fallback password, which can only be used in situations where the
integration is disabled.
For easy understanding of the steps, we will refer to following examples throughout the section:
-
Rocket Chat Server - rocket.example.org
-
Zimbra Server - zimbra.example.org
-
Set up Rocket Chat using Snap on Ubuntu - https://docs.rocket.chat/installation/snaps
Rocket chat is easy to install and set up on Ubuntu using snap. For manual installation on other operating systems, refer to https://docs.rocket.chat/installation/manual-installation.
-
Allow API tokens to be used
echo "CREATE_TOKENS_FOR_USERS=true" > /var/snap/rocketchat-server/common/create-tokens.env sudo systemctl restart snap.rocketchat-server.rocketchat-server.service -
Set up a reverse proxy. This will allow you to use TLS/SSL and configure headers needed for the integration. See proxy-config folder for a basic example of nginx/apache config.
apt install nginx systemctl enable nginx -
Modify the config in /etc/nginx/sites-enabled/default as per the example in proxy-config folder and start nginx service.
systemctl start nginx -
Enable iframe integration:
-
Login to Rocket Chat URL
-
Navigate to Settings → Accounts → iframe
-
Enable and add the following details
-
Iframe URL: https://zimbra.example.org/service/extension/rocket?action=redirect
-
API URL: https://zimbra.example.org/service/extension/rocket?action=signOn
-
Api Method: GET
-
Click on "Save changes" at right-hand top corner.
-
-
During 2020, Google and various vendors have been pushing the requirement to set cookies with the SameSite and Secure attributes.
RocketChat sets cookies on the client via JavaScript and does not
support configuring the SameSite attribute, which is needed for it to
run on a different domain than Zimbra. This means that RocketChat needs
to be installed on a subdomain similar to Zimbra. For example,
zimbramail.example.com and rocketchat.example.com will work, but
zimbramail.example.io and rocketchat.example.com will not work.
-
Copy rocket.jar from https://github.com/Zimbra-Community/zimbra-rocket/releases to /opt/zimbra/lib/ext/rocket/rocket.jar
-
Create a text file
/opt/zimbra/lib/ext/rocket/config.propertieswith following contents:adminuser=adminUsername adminpassword=adminPassword rocketurl=https://rocket.example.org loginurl=https://zimbra.example.org enableWelcomeEmail=true-
The
adminuserandadminpasswordshould have been created when you first installed Rocket Chat. -
The
loginurlis the place where we point users to that have not yet authenticated. This can be your SSO login page or the Zimbra login page.Do not put a / at the end of rocketurl! Make sure to configure X-Frame-Options/Access-Control-Allow-Origin on the Rocket Chat server side. You must remove these headers in a reverse proxy and add the correct ones for the integration to work. See the proxy-config for a basic example nginx/apache config.
-
-
Restart zmmailbox server:
su - zimbra
zmmailboxdctl restart
Be careful, as you can easily lock yourself out if something does not work. If you want more details, refer to https://github.com/Zimbra-Community/zimbra-rocket/wiki/Debugging.
- For Zimbra 8 get com_zimbra_rocket.zip (from Github releases) and as Zimbra user:
wget https://github.com/Zimbra-Community/zimbra-rocket/releases/download/0.0.5/com_zimbra_rocket.zip -O /tmp/com_zimbra_rocket.zip
zmzimletctl deploy /tmp/com_zimbra_rocket.zip
To configure the rocketurl in the Zimlet

     zmzimletctl getConfigTemplate /opt/zimbra/zimlets-deployed/com_zimbra_rocket > /tmp/config_template.xml.tmp

Edit the /tmp/config_template.xml.tmp file according to your needs. Import the new configuration file by the running following command:

     zmzimletctl configure /tmp/config_template.xml.tmp
-
For Zimbra 9 get zimbra-zimlet-rocketchat.zip (from Github releases at https://github.com/Zimbra/zimbra-zimlet-rocketchat) and as Zimbra user:
zmzimletctl deploy zimbra-zimlet-rocketchat.zipCopy and paste the following config template file in
/tmp/rocket_config_template.xmland update your rocket URL:<zimletConfig name="zimbra-zimlet-rocketchat" version="0.0.1"> <global> <property name="rocketurl">https://rocket.example.org/</property> </global> </zimletConfig>Import the new configuration file by the running following command:
zmzimletctl configure /tmp/rocket_config_template.xml -
Restart zmmailbox server:
 su - zimbra
 zmmailboxdctl restart
Once you have enabled iframe-authentication, you will not be able to login directly using the RocketChat login page. In most cases you will not be able to login to the RocketChat administrative account.
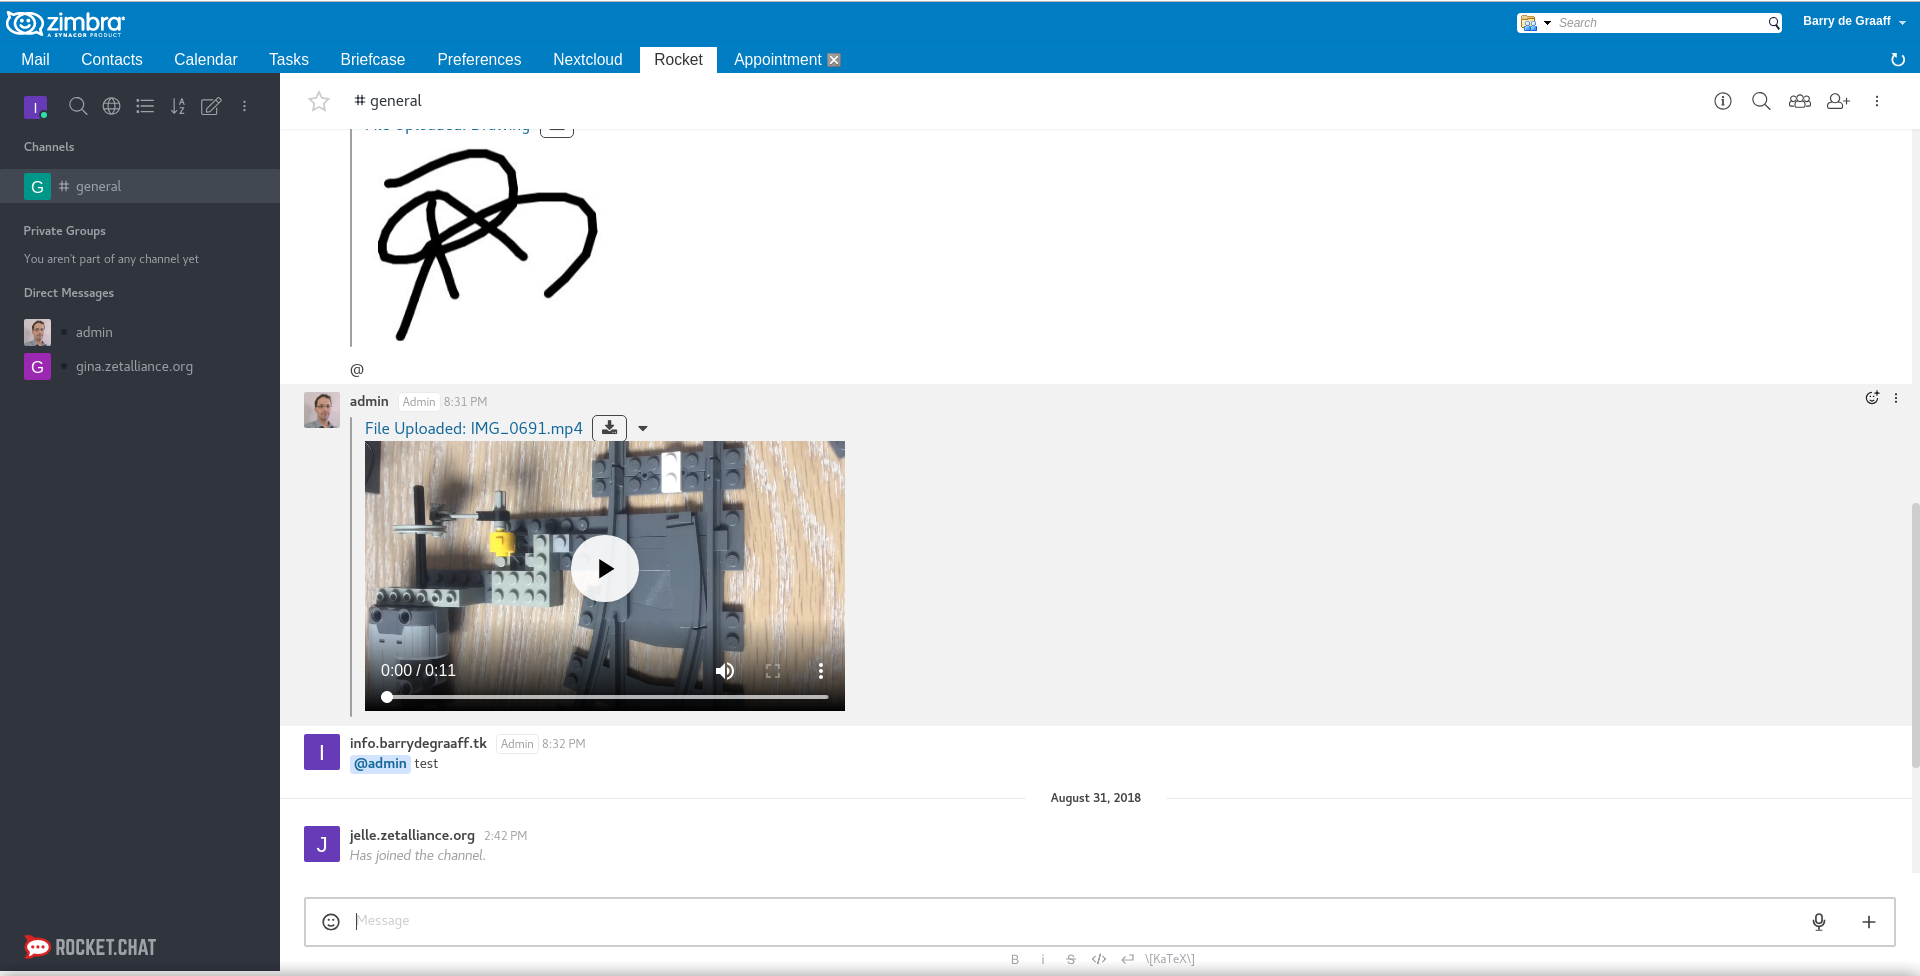
To fix this you can promote a regular user account to have an admin
role. Log on to Zimbra and go to the RocketChat tab of the account you
wish to use as admin and verify the account name. Example
admin@zimbra.example.com becomes admin.zimbra.example.com in
RocketChat. Promote this user on RocketChat server like this:
cd /snap/rocketchat-server/current
./bin/mongo parties --eval 'db.users.update({username:"admin.zimbra.example.com"}, {$set: {'roles' : [ "admin" ]}})'
This Zimlet does not separate tenants from Zimbra, so all users on your Zimbra server that have access to the RocketChat Zimlet will have an account on RocketChat and will be able to see and chat with each other. Accounts on RocketChat are created if/when the user logs into Zimbra. To remove a user from RocketChat you have to remove them on RocketChat and de-activate them in Zimbra or disable the RocketChat Zimlet for the user you want to remove from RocketChat.